Studio Quality Background Lighting can be produced (almost) anywhere
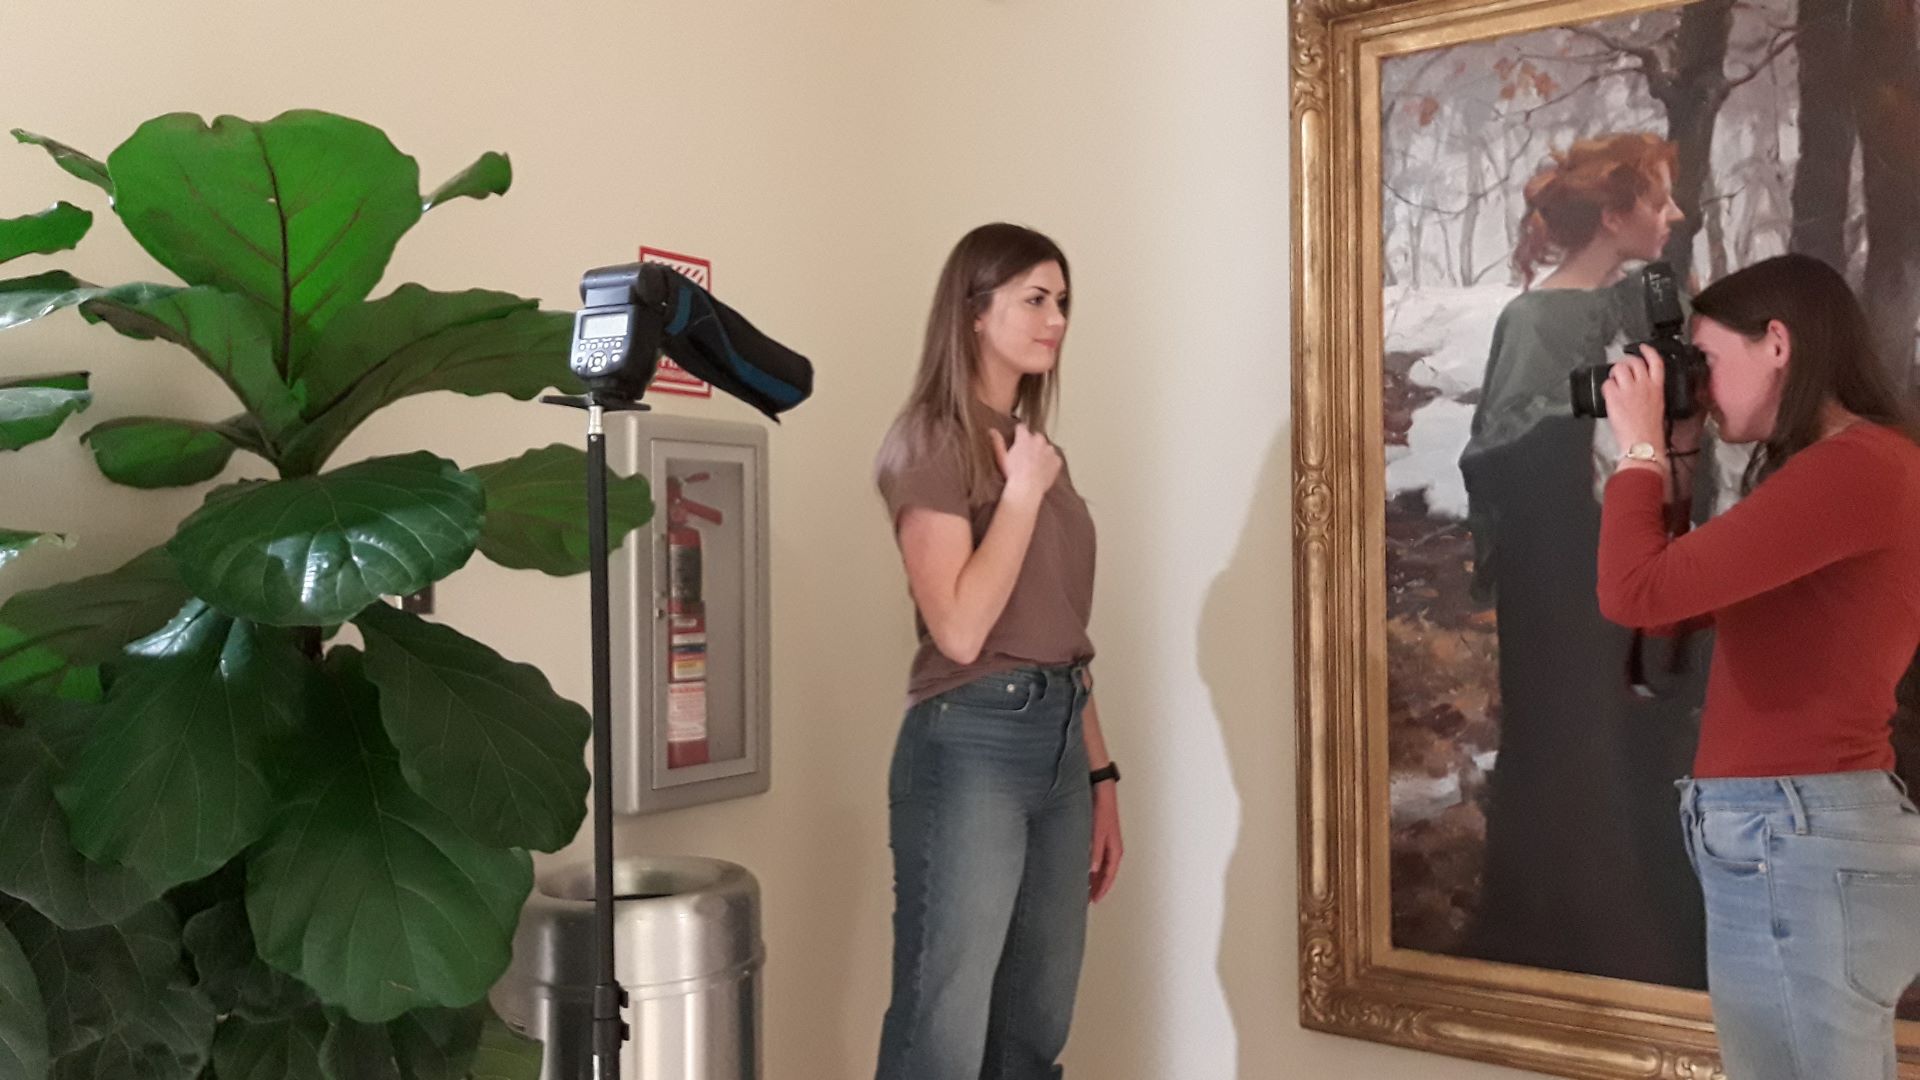
Lighting is everything in photography. If you’re using natural light (like these photos), getting the right time of day and using shadows is important. When you’re using flashes, knowing how to use them changes everything. If you’re using continuous light, any setting can change into a good photo opportunity. Today I’m going to talk about creating a studio quality background just by using the right lighting. In this case, I used a flash. To achieve a more focused area of light from the flash, I put a rogue flash bender over my flash, which I set independently from my camera on a tripod. I set my camera to f/13 and 1/200 shutter speed, ISO 100, cloudy white balance. I set the light at about a 20 degree angle (ish); almost directly to the side but a little to the front. Then I took my photo.
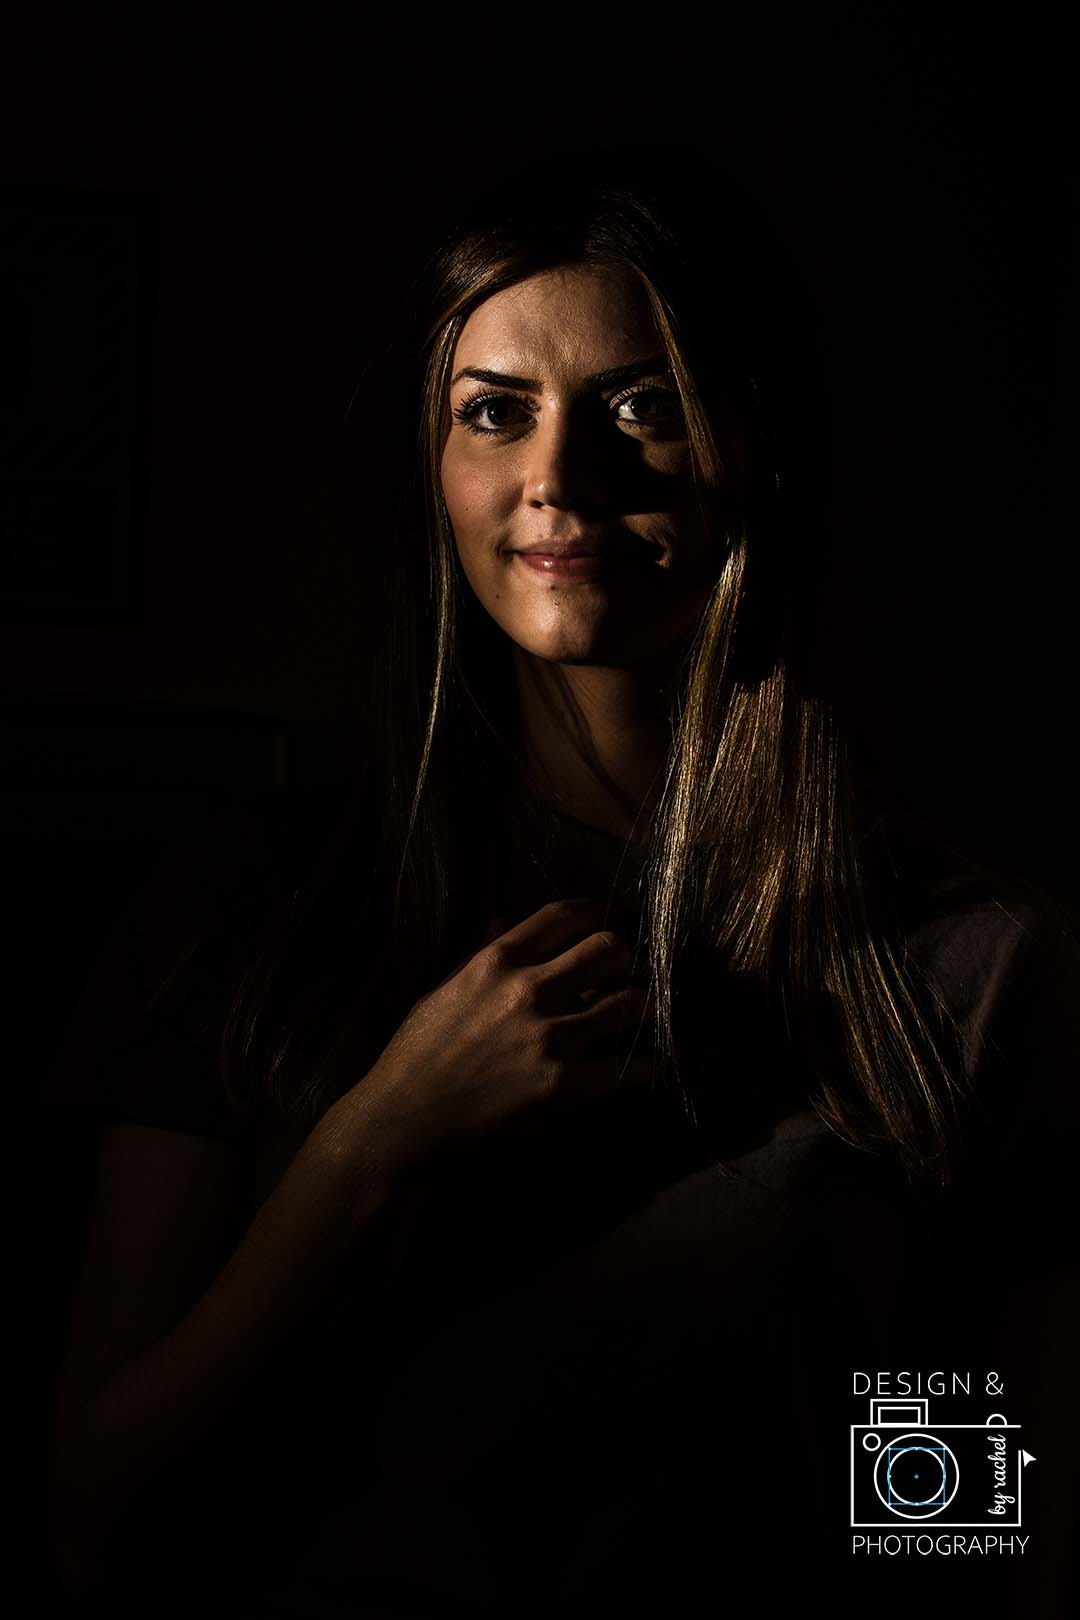
The direct flash and the fast shutter speed, low ISO, etc. meant that the only light my camera picked up was what came from the flash, leaving the entire background black. Some people call this technique SQIBB, which stands for Studio Quality Invisible Black Background.
More examples of studio quality background lighting
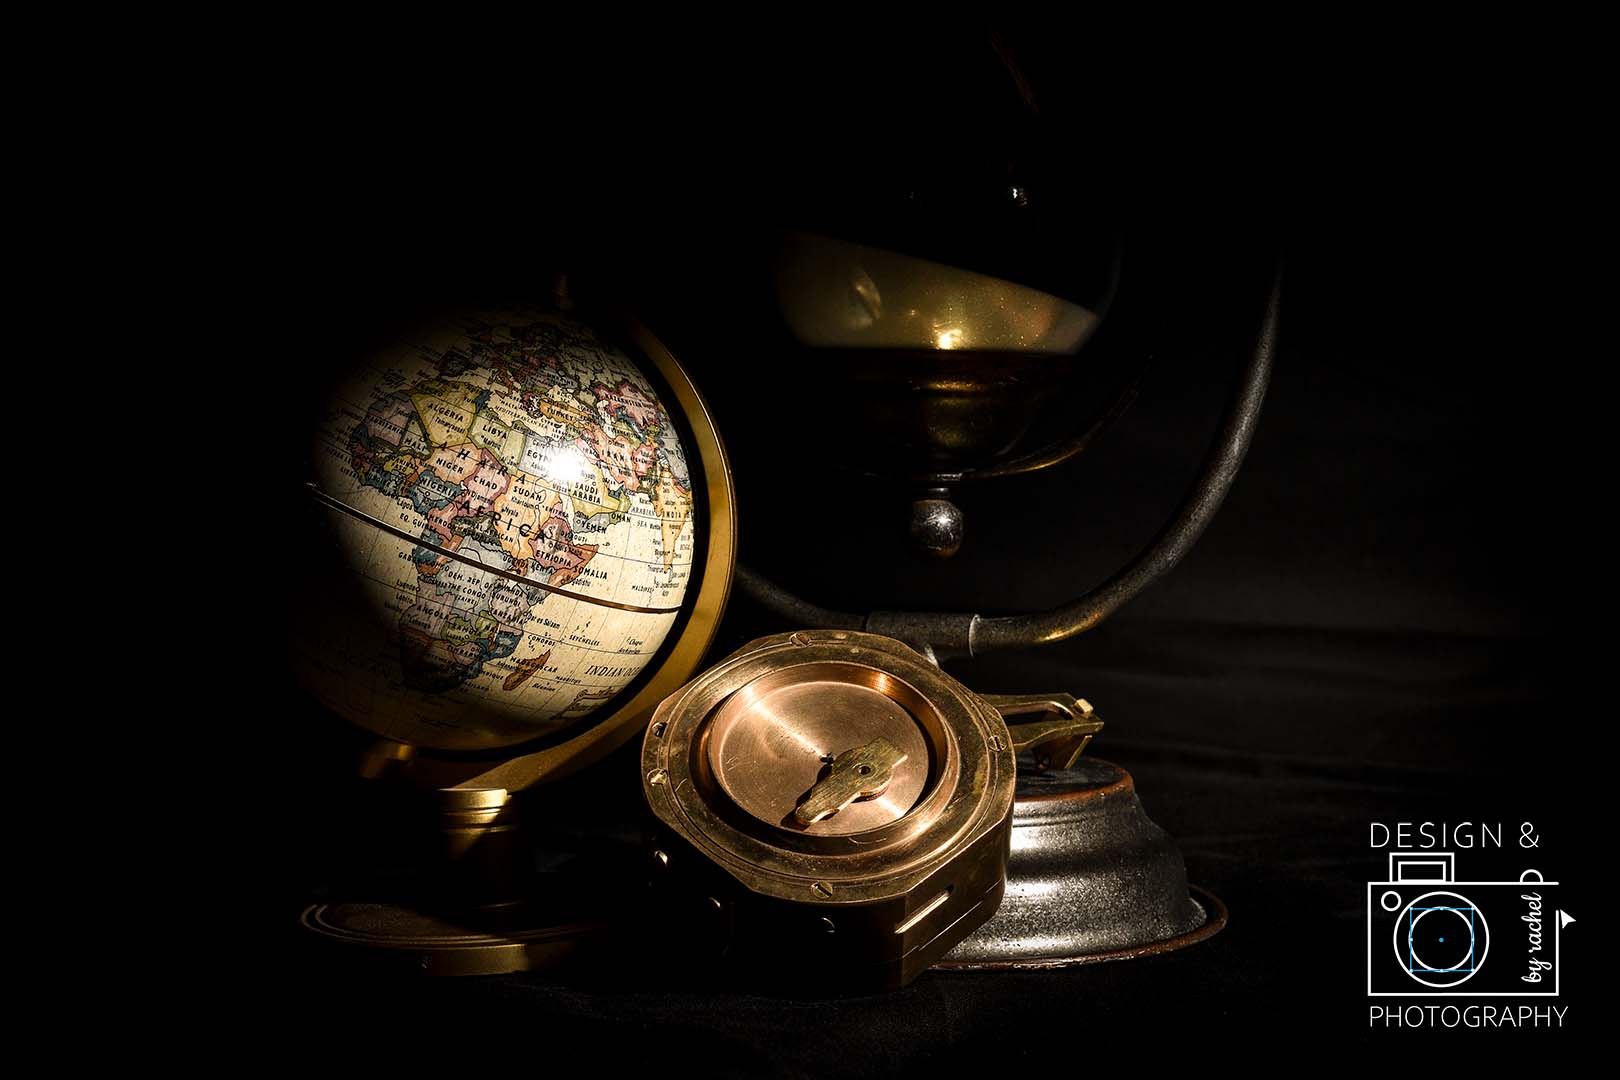
I took the last photo indoors with typical fluorescent lights, but something I found to be impressive is that the same technique works outside with full daylight. That’s right–you can achieve a black background when there’s that much light coming into your image.
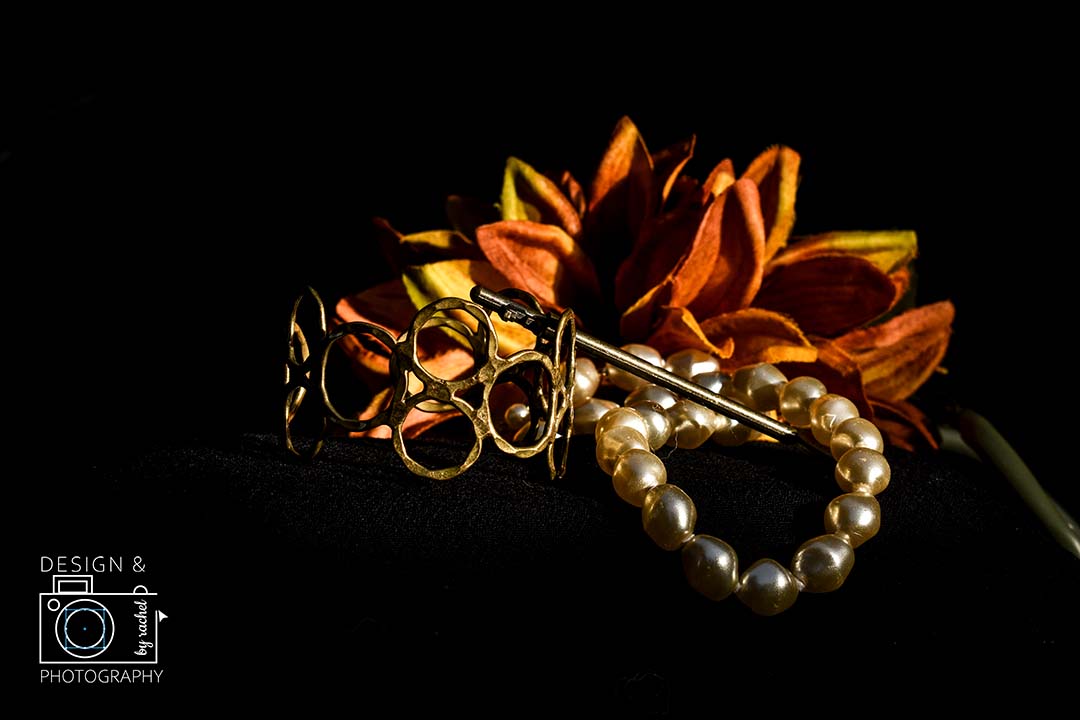
I wish I’d taken a picture of our setup here. We had a black cloth draped over a wall outside, and I set up these objects on it. I set my camera to f/11, 1/125 SS, cloudy white balance, and ISO 100. My light source was the same, a flash with a Rogue flash bender over it to “snoot” the light, but this time coming from a more direct angle. The result is a picture with studio quality background lighting, taken outside during the day.

Basically, lighting is everything
I learned a lot about how to use lights as I experimented with studio quality background lighting! It’s amazing what manipulating camera settings and lights can do for a photo.
If you want to learn more about how flashes can affect how your background looks, this video might be super helpful!
I hope you enjoyed this post and found it as interesting as I did! Hope to see you again soon. 🙂
Hey Rachel! Great SQIBB photos. You did an awesome job. I like how you included a set up shot of your first photo you shared. This is so helpful.
Here’s a link to my blog post: https://www.emily-h.com/sqibb-studio-quality-photography-with-an-invisible-black-background/
Have you seen Kimberly’s blog post on SQIBB: https://kimberly-photo.com/studio-quality-invisible-black-background/
Check out this SQIBB blog post: https://mlhnphotography.com/sqibb-studio-quality-invisible-black-background/
Rachel! I really like your creativity with your photos. I really like how you showed your setup for Tenille. Here’s a link to my post about faking a black background.
https://noellebertucciniphoto.com/faking-a-black-background/
Have you seen Aubrey’s post about SQIBB?
http://christiansenphotography.com/studio-quality-black-background/
I also really liked The New York Times article about faking a background. It’s a good read!
https://gadgetwise.blogs.nytimes.com/2012/04/18/how-to-fake-a-black-backdrop-with-a-flash/